
Pioneer Mini Split Installation Manual: A Comprehensive Guide
This comprehensive guide provides essential information for installing Pioneer mini-split systems. It covers steps from pre-installation checks to final setup. Proper installation ensures optimal performance, safety, and longevity of your system. Consult this manual for a smooth, successful installation process.
Pioneer mini-split systems are a popular choice for efficient and customizable heating and cooling solutions. These ductless systems offer numerous advantages, including energy savings, zone-specific temperature control, and ease of installation compared to traditional ducted systems. Pioneer offers a range of units with varying BTU capacities, catering to different room sizes and cooling or heating needs.
These systems consist of an outdoor unit and one or more indoor units, connected by refrigerant lines and electrical wiring. The installation process involves mounting the indoor and outdoor units, connecting the lines, performing electrical connections, vacuuming the system to remove air and moisture, and charging the system with refrigerant.
Proper installation is crucial for optimal performance and longevity. This manual provides a step-by-step guide to ensure a successful installation, covering essential aspects such as selecting the right location, connecting refrigerant lines, and performing necessary tests. Following these instructions ensures that your Pioneer mini-split system operates efficiently and reliably, providing years of comfortable and cost-effective climate control.
Pre-Installation Checklist: Essential Steps
Before commencing the installation of your Pioneer mini-split system, a thorough pre-installation checklist is essential to ensure a smooth and successful process. Firstly, verify that you have all the necessary components and parts listed in the product manual. This includes both indoor and outdoor units, refrigerant lines, electrical wiring, mounting brackets, and any additional accessories.
Next, carefully review the installation manual to familiarize yourself with the specific requirements and recommendations for your particular Pioneer model. Check local building codes and regulations to ensure compliance with electrical and HVAC standards. Confirm that the intended installation locations for both indoor and outdoor units meet the specified clearances and structural requirements.
Gather all required tools, including a vacuum pump, manifold gauge set, flaring tool, pipe cutter, electrical tools, and safety equipment. Ensure that you have a stable power supply and appropriate electrical connections available. Finally, inspect the units for any visible damage sustained during shipping. Addressing these pre-installation steps will prevent delays and ensure a safe and efficient installation process, setting the stage for optimal system performance.

Tools and Materials Required for Installation
To successfully install a Pioneer mini-split system, gathering the correct tools and materials is paramount. Essential tools include a vacuum pump to remove air and moisture from the refrigerant lines, ensuring optimal performance. A manifold gauge set is needed to monitor refrigerant pressure during vacuuming and charging. A flaring tool is crucial for creating secure, leak-proof connections on refrigerant lines.
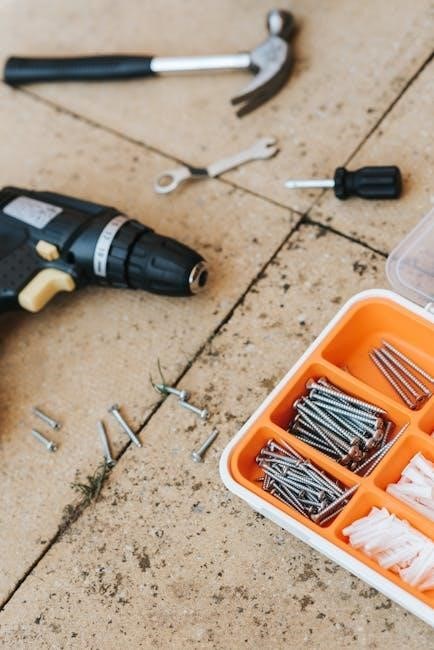
Also, a pipe cutter ensures clean cuts on the copper tubing, and electrical tools like wire strippers and a multimeter are necessary for safe electrical connections. Safety equipment, including gloves and eye protection, is essential. Materials should include appropriately sized copper tubing, insulation for refrigerant lines, electrical wiring that meets local codes, and mounting brackets suitable for both indoor and outdoor units.
Additionally, consider a nitrogen tank for pressure testing, ensuring the system is leak-free before charging with refrigerant. A torque wrench is vital for tightening connections to the manufacturer’s specifications, preventing leaks. Having these tools and materials readily available will streamline the installation, ensuring a professional and reliable setup of your Pioneer mini-split system.

Selecting the Optimal Location for Indoor and Outdoor Units

Choosing the right location for both the indoor and outdoor units of your Pioneer mini-split system is crucial for optimal performance and efficiency. For the indoor unit, select a central location within the room that allows for even air distribution, avoiding obstructions like furniture that could impede airflow. Ensure the wall is strong enough to support the unit’s weight, and consider proximity to an electrical outlet to minimize wiring.

The outdoor unit should be placed in a location that provides ample space for airflow and maintenance. Avoid direct sunlight and areas prone to snow accumulation, which can reduce efficiency. The unit should be level and securely mounted on a concrete pad or mounting brackets to minimize vibration and noise. Consider the proximity to the indoor unit to minimize the length of refrigerant lines, reducing installation costs and improving system performance.
Additionally, be mindful of noise levels and potential disturbances to neighbors when selecting the outdoor unit’s location. Compliance with local building codes and regulations is essential. Proper placement ensures longevity, efficient operation, and minimal disruption.
Mounting the Indoor Unit: Step-by-Step Instructions
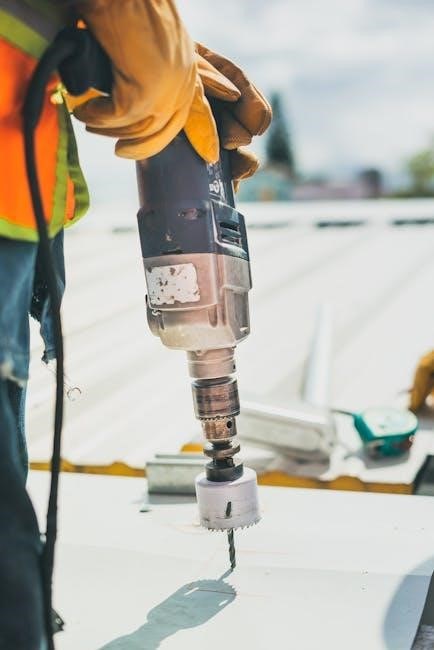
Begin by carefully unpacking the indoor unit and verifying all components are present. Locate the mounting plate included with your Pioneer mini-split system. Position the mounting plate on the selected wall, ensuring it is level using a spirit level. Mark the screw locations through the mounting plate holes and pre-drill pilot holes. Secure the mounting plate to the wall using appropriate screws, ensuring it is firmly attached and can support the unit’s weight.
Next, prepare the wall sleeve for the refrigerant lines and electrical connections. Drill a hole through the wall, angled slightly downward to allow for proper drainage. Carefully pass the refrigerant lines and electrical wiring through the hole. Now, lift the indoor unit and align it with the mounting plate. Gently slide the unit onto the plate, ensuring it clicks into place securely. Double-check that the unit is level and properly seated on the mounting plate;
Finally, connect the refrigerant lines and electrical wiring according to the manufacturer’s instructions. Ensure all connections are tight and secure. Proper mounting is critical for optimal performance and preventing future issues. Refer to the installation manual for detailed diagrams and specific instructions for your model.

Installing the Outdoor Unit: Secure and Level Placement
Choosing the correct location for the outdoor unit is crucial for efficient operation and longevity. Select a location that provides adequate ventilation and is away from direct sunlight and heavy traffic. The area should be level and capable of supporting the unit’s weight. A concrete pad is ideal, but a sturdy mounting bracket can also be used.

Once you’ve chosen the location, ensure the mounting surface is perfectly level. Use shims if necessary to achieve a level base. Secure the outdoor unit to the mounting surface using appropriate bolts or screws. Ensure the unit is firmly attached and cannot be easily moved. Proper anchoring prevents vibrations and potential damage.
Next, consider the clearance around the unit. Maintain adequate space on all sides for airflow and maintenance access. Remove any obstructions, such as plants or debris, that could hinder airflow. Proper ventilation is essential for efficient cooling and heating. Finally, double-check all connections and ensure the unit is securely mounted before proceeding with the refrigerant and electrical connections. Refer to the installation manual for specific clearance requirements and mounting recommendations.
Connecting Refrigerant Lines: Proper Flaring and Tightening
Connecting refrigerant lines is a critical step that demands precision. Begin by carefully measuring and cutting the refrigerant lines to the required length, ensuring clean, burr-free edges. Use a proper tube cutter to avoid deforming the copper tubing. Deburr the cut ends to prevent leaks and ensure a smooth connection.
Flaring the ends of the refrigerant lines is essential for creating a secure, leak-proof seal. Use a flaring tool to create accurate and consistent flares. Ensure the flare is smooth, even, and free from cracks or imperfections. A poorly flared connection is a common cause of refrigerant leaks. Next, align the flared ends with the corresponding fittings on the indoor and outdoor units.
Tighten the flare nuts using two wrenches, one to hold the fitting and the other to tighten the nut. Apply the correct torque as specified in the installation manual. Over-tightening can damage the flare, while under-tightening can cause leaks. After tightening, inspect the connections for any signs of leaks. Use a leak detector to confirm the integrity of the connections. Proper flaring and tightening are crucial for maintaining a leak-free, efficient system.
Electrical Wiring: Safety and Code Compliance
Electrical wiring is a crucial aspect of mini-split installation, demanding strict adherence to safety protocols and local electrical codes. Before commencing any electrical work, disconnect the power supply to prevent electrical shock. Consult the wiring diagram in the installation manual to identify the correct wiring configuration for your specific model.
Use appropriately sized wires, as specified in the manual, to handle the electrical load of the mini-split system. Ensure all wiring connections are secure and properly insulated to prevent short circuits and electrical hazards. Ground the system according to local electrical codes to protect against electrical faults.
Connect the power wires to the designated terminals on both the indoor and outdoor units, following the wiring diagram precisely. Use wire connectors or terminal blocks to ensure secure and reliable connections. Double-check all wiring connections before restoring power. After completing the wiring, verify that all components are properly grounded and that the system is functioning correctly. If you are not comfortable performing electrical work, it is recommended to hire a qualified electrician to ensure safety and code compliance. Incorrect wiring can lead to equipment damage, electrical shock, or fire hazards.
Vacuuming the System: Removing Air and Moisture
Vacuuming the system is a crucial step in mini-split installation, essential for removing air and moisture from the refrigerant lines. Air and moisture can significantly reduce the system’s efficiency and lifespan. Connect a vacuum pump to the service port on the outdoor unit, typically the low-pressure side. Use a micron gauge to monitor the vacuum level.
Start the vacuum pump and allow it to run until the micron gauge reads below 500 microns. This process ensures that all air and moisture are removed from the system. Close the service port valve and turn off the vacuum pump. Monitor the micron gauge to ensure that the vacuum holds steady for at least 15-20 minutes. A rise in the micron level indicates a leak in the system, which must be located and repaired before proceeding.
If the vacuum holds, the system is properly evacuated. This step is vital for preventing contamination of the refrigerant and ensuring optimal performance. Triple evacuation can also be performed. EX: place system on a vacuum until 1500 microns or lower, pressurize to 15 PSI with nitrogen for 515mins. Release. Proper vacuuming guarantees efficient and reliable operation of your mini-split system.
Nitrogen Pressure Testing: Ensuring Leak-Free Operation
Nitrogen pressure testing is a critical step to ensure the mini-split system is leak-free before refrigerant charging. This test helps identify any potential leaks in the refrigerant lines and connections, preventing future performance issues and refrigerant loss. Connect a nitrogen tank and regulator to the service port of the outdoor unit. Slowly introduce nitrogen into the system until it reaches the pressure specified in the Pioneer installation manual, typically around 150-200 PSI.
Once the system is pressurized, close the nitrogen tank valve and carefully inspect all refrigerant line connections, including flares and joints, for any signs of leaks. Use a soap solution or electronic leak detector to check for bubbles or leaks. If a leak is detected, release the nitrogen pressure, repair the connection, and repeat the pressure test.
If no leaks are found, maintain the nitrogen pressure for at least 24 hours to ensure the system can hold pressure over an extended period. A drop in pressure indicates a slow leak that needs to be addressed. This thorough testing process guarantees a leak-free and reliable mini-split system operation. How to Perform a Nitrogen Pressure Test on a Pioneer Mini Split.
Refrigerant Charging: Achieving Optimal Performance
After confirming the system is leak-free through nitrogen pressure testing, refrigerant charging is the next crucial step. Proper refrigerant charge ensures the mini-split operates efficiently and delivers optimal cooling or heating performance. Before charging, refer to the Pioneer installation manual for the correct refrigerant type and charge amount specific to your unit model. Connect the refrigerant tank to the service port on the outdoor unit, using appropriate gauges and hoses.
Slowly release the refrigerant into the system, monitoring the pressure and temperature. Use a digital scale to measure the amount of refrigerant added, ensuring it matches the manufacturer’s specifications. Avoid overcharging, as this can damage the compressor and reduce efficiency. Once the correct charge is achieved, close the refrigerant tank valve and disconnect the charging equipment. Allow the system to run for a while, monitoring the performance and making any necessary adjustments.
Check the supply and return air temperatures to verify proper cooling or heating. A correctly charged system will provide consistent and efficient climate control. Qualified installers must handle the refrigerant lines, vacuuming, refrigerant, and recharging.
WiFi Remote Access Module Setup
Many Pioneer mini-split systems come equipped with a WiFi remote access module, allowing convenient control via smartphone or tablet. The setup process involves connecting the module to your home’s WiFi network and configuring the associated mobile app. Begin by downloading the Pioneer remote control application from your app store. Ensure the mini-split unit is powered on before starting the configuration.

Follow the app’s on-screen instructions to connect the WiFi module to your network. This usually involves entering your WiFi password and selecting the correct network name. Once connected, the app will recognize your mini-split system, allowing remote control of temperature, fan speed, and operating mode. Create an account within the app to save your settings and manage multiple Pioneer units, if applicable. Verify that the remote access functionality is working correctly by testing different settings and monitoring the system’s response.
With the WiFi module set up, you can now enjoy the convenience of controlling your mini-split system from anywhere with an internet connection. Stay cool and comfortable with this efficient system. All installation must be performed by trained persons with proper tools.
Troubleshooting Common Installation Issues
Even with careful planning, installation issues can arise. One common problem is the unit failing to power on. Double-check all electrical connections and ensure the breaker is not tripped. If the unit powers on but doesn’t cool, refrigerant leaks are a possibility. Inspect refrigerant lines for damage and ensure connections are tight.
Another issue is unusual noise during operation. This could indicate loose components or improper mounting. Check that both indoor and outdoor units are securely fastened and level. Insufficient airflow can also cause problems. Make sure the air filters are clean and not obstructed. If the WiFi module fails to connect, verify your WiFi password and router settings. Consult the Pioneer manual or contact customer support for specific error codes.
Improper installation can lead to water leakage. Ensure the drain line is properly connected and not clogged. When troubleshooting, always prioritize safety and disconnect power before inspecting electrical components. By addressing these common issues systematically, you can resolve installation problems and enjoy the full benefits of your Pioneer mini-split system. Stay cool and comfortable. Electrical work and hookups must be done according to all local and national codes.